Trace: • scanner_settings
This is an old revision of the document!
Table of Contents
Scanner Settings
Scanner settings are divided into multiple categories for easier and cleaner view.
Exchange
Here we have the most basic settings, choosing exchange and setting exchange fee percent.
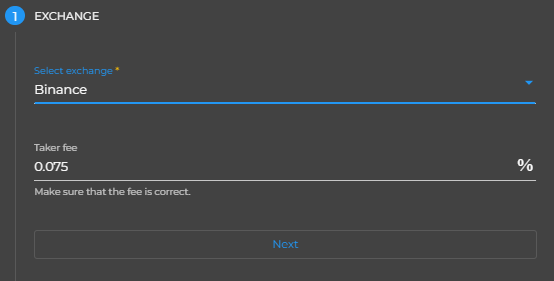
Fields:
- Select exchange - choose the desired exchange from the drop down menu (only exchanges for which you have license will be enabled).
- Taker fee - set the taker fee for the selected exchange. There is default values provided for each exchange, however make sure the values are correct by checking them on the exchange's site.
Main

Fields:
- Scanner instance name - that is the name of your scanner.
- Select base currency - base currency is the currency that you start and end with. For example if you want to accumulate BTC you need to set it to BTC. You need to have funds only in the selected base currency. All other currencies are managed by the bot.
- Balance per trade - that is the amount which will be used for each arbitrage event found.
- Allocated funds - total funds which will be allocated to this instance. This allows running multiple scanners from the same exchange without messing up bank funds.
- Min. profit - minimum profit percent for the arbitrage events. Events with lower profit percent will not be executed. Min. profit value is 0.01.
- Select trading mode - you can choose from “Real Money” and “Paper Trading” modes. Real money mode place real orders, while paper trading mode only simulate placing orders.
- Dynamic start balance - aka DBS. DSB is super useful when using higher balance per trade, because it allow executing arbitrage events even for amounts smaller than your balance per trade if there is not enough volume to cover your BPT. DSB can dynamically adjust your balance per trade, but it will not use a value higher than the value selected for balance per trade. When DSB is set to true the bot will treat your BPT value as max balance per trade. When DSB is set to true and there is arbitrage occurrence with volume smaller than your BPT, it will be executed.
- Stop-Loss - stop-loss is used on pair #3. If you don't want to have open orders who loses their value you can use the stop-loss feature. Stop-Loss value represent the percent difference in order placed price and current price. If you don't want to have stop-loss you can set the value to 100. Use stop-loss feature wisely, because you can lose money fast if misused.
Bank
In this section you will find the bank related options.
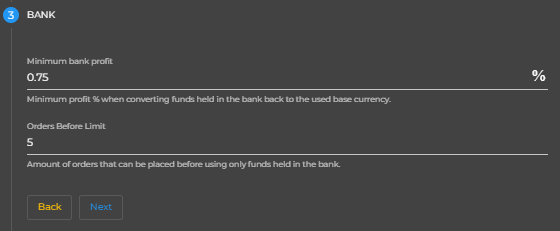
Fields:
- Bank check interval - represents the interval between checking if held funds in the bank can be converted to base.
- Minimum bank profit - represents the minimum profit percent needed when converting held funds to base.
- Orders before limit - represents the amount of orders that can be used before using only funds held in the bank. Later you can set individual orders before limit values for each currency from the bank monitor.
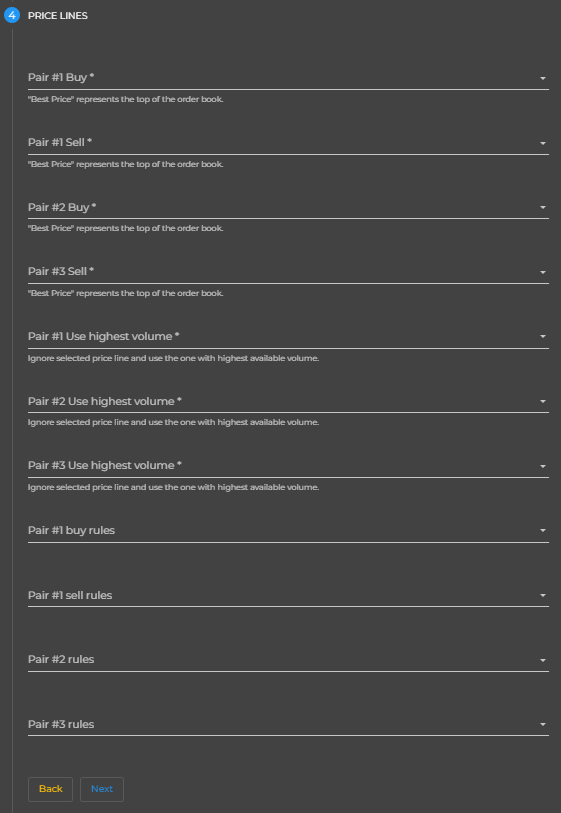
Price Lines
Price lines represents the lines from the orderbook which you want to scan on.
We are using the top 10 prices from the order book.
0 is the lowest value, 9 is the highest vlaue.
OKEX:
We are using the top 5 prices from the order book.
0 is the lowest value, 4 is the highest vlaue.
On pair #1 we have buy/sell value.
On pair #2 we have buy value.
On pair #3 we have sell value.
When buying 0 is the most aggresive line (“Best Price”).
When selling 9 is the most aggresive line (“Best Price”).
OKEX:
When buying 0 is the most aggresive line (“Best Price”).
When selling 4 is the most aggresive line (“Best Price”).
“Best Price” is the “top of the book”.
The best price in the order book.
The one at the top.
Aggressive price lines has higher chances of unfilled order, but also higher chance for bigger profit.
If you want to reduce the amount of unfilled orders on specific pair #, just use a less aggressive price line on it.
Change the values by 1 at time and observe the results before making other changes.
Fields:
- Pair #1 Buy - price line for pair #1 when we triangular combo starts with buy.
- Pair #1 Sell - price line for pair #1 when we triangular combo starts with sell.
- Pair #2 Buy - price line for pair #2.
- Pair #3 Sell - price line for pair #3.
External resources that may be helpful:
https://www.investopedia.com/terms/o/order-book.asp
https://www.investopedia.com/terms/m/matchingorders.asp
https://en.wikipedia.org/wiki/Order_matching_system
https://www.investopedia.com/terms/t/triangulararbitrage.asp
Volume Multipliers
Volume multipliers are used in two scenarios.
When calculating DSB and for volume filters.
DSB is only used to calculate your initial balance per trade, while volume multiplier is additionally used in each pair to check the volume availability.
Volume multipliers means how much needed amount * VOL_MULTIPLIER_VALUE should the total volume be in order to execute the arbitrage cycle.
Lets say on pair #2 you need amount of 30 XMR.
You have volume multiplier on pair #2 set to 3.
Volume on the chosen price line is checked.
If volume is 50 the event will be skipped, because 50 < than 30 * 3.
If volume is 90 or higher it will be executed.
Same applies for all pairs.
Have in mind that volume checks does not guarantee that your orders will be filled, it just guarantees that the volume was available at the beginning of the arbitrage execution.
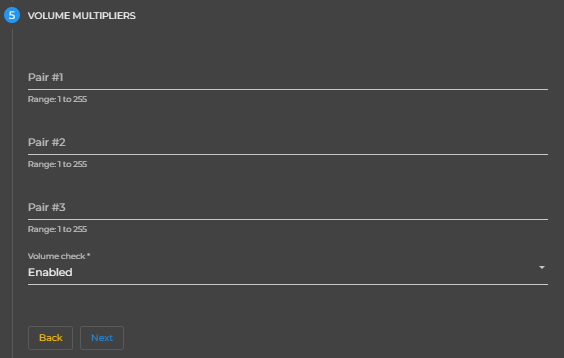
Fields:
- Pair #1 - volume multiplier for pair #1.
- Pair #2 - volume multiplier for pair #2.
- Pair #3 - volume multiplier for pair #3.
- Volume check - in some cases you may want to disable the volume checking, if so you can set volume check to disabled. Have in mind that pair #1 volume multiplier value will stil be used for DSB calculations. You can disable DSB as well if you want to totally exclude all volume related checks.
Blacklist
You can exclude whole market or only specific triangular combination.
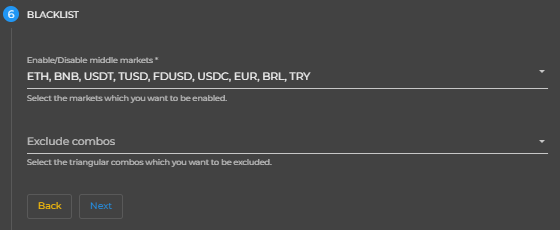
Fields:
- Enable/disabled middle markets - exclude entire middle market.
- Exclude combos - exclude specific triangular combination/s.
MISC
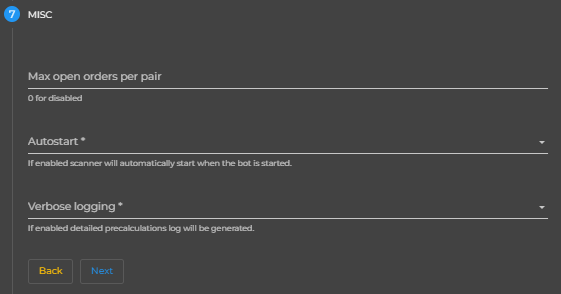
Fields:
- Autostart - if enabled scanner will be automatically started on creation and when you start the bot next time.
- Verbose logging - if enabled detailed pre-calculations log will be generated. No need to keep an eye on the logs size anymore. Now we have integrated log rotation.
Done
The last step before creating your new scanner instance.

If you want to go back and edit some of the settings you can click “Back”.
If you want to reset the whole form, click on “Reset”.
If you want to proceed with creating your new scanner click “Submit”.